Espresso
How to Pull a Balanced Espresso Shot
Learn how to pull espresso shot by shot with the right dose, ratio, and timing. A practical guide to dialing in balanced, repeatable espresso at home.
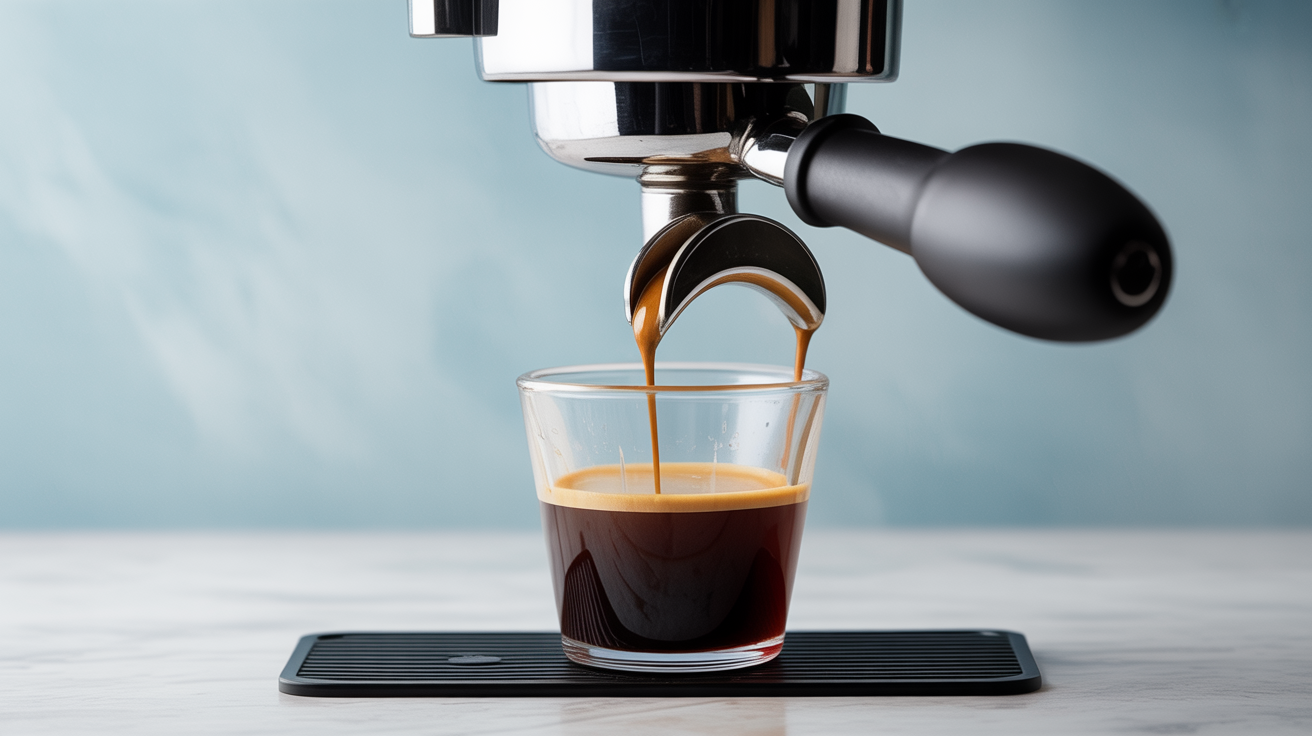
A balanced espresso shot comes down to three numbers: dose in, yield out, and time. Get those right and almost everything else follows. Aim for roughly 18 g of coffee in, 36 g of liquid out, in about 27 seconds. That's your target.
Here's how to actually get there.
At a Glance
- Target ratio is 1:2, dose to yield: 18 g in, 36 g out, in 25–30 seconds. This matches the standard the National Coffee Association uses for describing espresso brewing generally.
- Grind size is your main lever for home machines, since most don't let you easily adjust pressure or temperature. Finer grind means slower, stronger; coarser means faster, lighter.
- Puck prep (dosing, distribution, tamping) causes most shot-to-shot variance, not the machine. The machine does the same thing every time; the puck is where inconsistency lives.
- Change one variable per shot. Adjusting grind and dose together in the same session makes it impossible to know what actually fixed (or broke) the result.
- A sour shot is almost always underextracted (grind finer, dose up slightly); a bitter or dry shot is almost always overextracted (grind coarser, dose down or pull shorter).
- Weigh everything. Volume estimates for dose and yield are unreliable enough to explain most "my recipe stopped working" complaints.
The parameters that matter
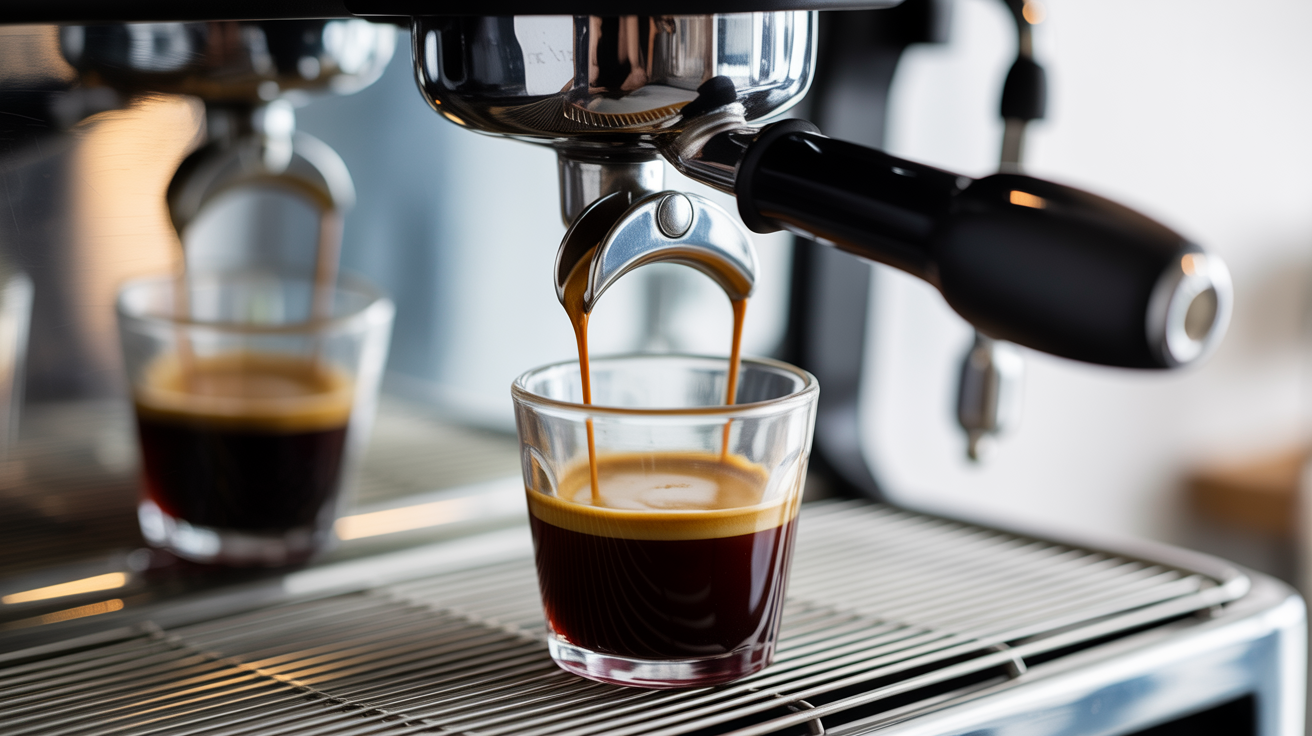
Before touching the grinder, know what you're trying to hit. These are the reference points most baristas work from:
| Parameter | Target range |
|---|---|
| Dose (dry coffee in) | 17-19 g |
| Yield (liquid espresso out) | 34-40 g |
| Brew ratio | 1:2 (dose:yield) |
| Shot time | 25-30 seconds |
| Brew temperature | 90-96°C (194-205°F) |
The 1:2 ratio is where to start. It's not a law, but it's the right default, and it lines up with what the NCA lists as the standard proportion: one gram of dry coffee to two grams of brewed espresso. A 1:2.5 pull tastes lighter and sweeter; a 1:1.5 is denser and more bitter. Once you understand what balanced tastes like, you can drift from 1:2 on purpose.
Shot time measures from the moment the pump starts (or the first drop falls, depending on who you ask; pick one and stay consistent). 25 to 30 seconds gets most coffees into a drinkable zone, which matches the roughly 20 to 30 seconds of contact time the NCA describes as standard for espresso. Under 20 seconds and the shot is probably too fast; over 40 and something is off with the grind or the puck.
Puck prep: what actually changes the shot
Inconsistent puck prep is the source of most shot-to-shot variance for home brewers. The machine does the same thing every time; the puck is where things go wrong.
Dosing
Weigh your coffee. A 0.1 g difference in dose won't ruin a shot, but a 1 g difference will shift your yield and taste noticeably. Use a scale under the portafilter while dosing, or transfer from a separate dosing cup. The goal is the same dose every time. If your scale reads to 0.1 g, dose to within 0.2 g of your target consistently; that's tight enough that dose stops being a variable you have to think about.
Distribution
After dosing, coffee grounds rarely sit level in the basket. Some people use a distribution tool; others just tap the portafilter lightly on the counter a few times and finger-level the top. Either works. What you want to avoid is a significant mound on one side, which causes water to channel through the low point and under-extract that path while over-extracting the rest.
WDT (Weiss Distribution Technique), which involves stirring the grounds in the basket with a thin needle or dedicated tool, makes a real difference if you're getting channeling. It breaks up clumps and evens out density before tamping. A basic WDT tool costs under 10 dollars and takes about 15 seconds per shot; it's one of the cheapest upgrades available for shot consistency, cheaper than almost any grinder or machine change.
Tamping
Tamp straight down with around 15-20 kg of pressure. The exact force matters less than the angle. A crooked tamp creates an uneven puck surface, and water finds the path of least resistance. A tamping mat and a level surface help. Twist slightly at the end to polish the surface if you like, though the evidence on whether that helps is thin.
One tamp. Don't keep pressing harder or re-tamp; you're trying to compress the puck evenly once, not pack it as tight as possible. If your first tamp feels crooked, break up the puck with a stir, re-level, and tamp again rather than trying to correct the angle on top of an already-compressed bed.
Reading the shot as it pulls
Watch the shot while it runs. The first second or two is pre-infusion; water is soaking into the puck before pressure builds. Then the espresso starts to flow.
A good shot usually starts as a thin, dark stream that gradually lightens and thickens slightly. If it's spraying or coming out in splashes immediately, your grind is too coarse or the puck has channeled. If nothing comes out for the first 10 seconds and then it trickles slowly, the grind is likely too fine or the dose is too high for your basket size.
The color shift from dark brown to blond is your visual cue for when the shot is getting thin. Most people stop the shot somewhere in the 25-30 second window before the stream goes fully pale. At that point you're extracting bitter compounds without much sweetness to balance them. If you're weighing output (and you should be), stop at your target yield rather than by color alone.
Adjusting for taste
One variable at a time. This is the rule that saves hours of frustration. If you change the grind and the dose in the same session, you won't know what fixed it.
| Symptom | Likely cause | First fix |
|---|---|---|
| Sour or sharp | Underextracted; ran too fast | Grind finer one step, or raise dose 0.5 g |
| Bitter or dry | Overextracted; ran too slow or too hot | Grind coarser one step, drop dose slightly, or pull a few seconds shorter |
| Thin and watery | Yield too high relative to dose | Tighten to 1:2 ratio, or dose up 1 g |
| Dense and muddy | Yield too low relative to dose | Let the shot run a few grams longer |
| Flat, no real sweetness or acidity | Beans past their peak, or grind size right but time off target | Check roast date first; if beans are fresh, verify time is 25-30 s |
Each of these is a starting move, not a fix guaranteed to work in one try. If a single-step grind adjustment doesn't close the gap, make a second small adjustment in the same direction before assuming a different variable is at fault.
For a deeper look at the full dialing-in process, see our guide to dialing in espresso at home. And if something is going wrong with the flow itself (spraying, channeling, uneven extraction), the espresso troubleshooting guide covers those cases in detail.
Grind size is your main lever
Most home setups don't let you adjust brew pressure or temperature easily. That means grind size is doing most of the work. It's the primary control.
Finer grind = more resistance = slower shot = more extraction. Coarser grind = less resistance = faster shot = less extraction.
Make small adjustments. On most grinders, one step (or half a step) changes shot time by 3-5 seconds. If you move 10 steps at once and the shot improves, you won't know how far was right. Go slow. On a stepless grinder, treat a quarter-turn as your smallest useful move; anything smaller is hard to feel or repeat reliably.
Also: grind fresh. Pre-ground coffee degasses quickly, which changes how water flows through the puck. If you're grinding more than a day ahead, expect inconsistency. Beans between 5 and 21 days off roast tend to be the most forgiving window for dialing in; very fresh beans (under 4 days) can channel from excess CO2 pushing back against the water.
A workflow that holds up session to session
The exact order matters less than doing it the same way each time. Here's one that works:
- Flush the group head for a few seconds to clear residual heat.
- Weigh and grind your dose (18 g is a solid default for a standard double basket).
- Distribute evenly (WDT if you have the tool, light taps and finger-leveling if not).
- Tamp once, straight down.
- Lock in the portafilter and start your timer immediately.
- Watch the extraction, stop at your target yield (36 g for an 18 g dose).
- Taste, note the time, adjust one variable if needed.
That's it. The more automatic this sequence becomes, the more clearly you'll hear what the shot is telling you when something's off. Keeping a simple log, even just dose, grind setting, time, and yield scrawled on a sticky note, makes it much easier to spot patterns across a week of shots instead of relying on memory. This kind of consistency is also why the industry has started formalizing brewing standards at all; the Specialty Coffee Association is developing its own espresso and roast-level test methods for the same reason home brewers keep a log: repeatable process is what separates a good shot from a lucky one.
If you want to make espresso-style coffee without a machine, we also cover pulling shots without an espresso machine using pressurized alternatives.
Frequently Asked Questions
What is the correct espresso brew ratio?
The standard starting point is 1:2: 18 g of coffee in, 36 g of espresso out. That said, this isn't fixed. Single-origin light roasts often pull well at 1:2.5 or even 1:3, while darker roasts and traditional Italian-style espresso are sometimes pulled shorter at 1:1.5. Start at 1:2, taste, and adjust from there based on what you get.
How long should an espresso shot take?
25 to 30 seconds is the standard target, measured from when the pump starts. Some machines pre-infuse at low pressure before the full pump kicks in, which can add a few seconds to your total time without affecting extraction much. If your shot pulls in under 20 seconds or takes over 40, something is off with grind size, dose, or puck prep.
Why does my espresso taste sour?
Sourness usually means under-extraction: the water moved through the puck too fast and didn't dissolve enough of the coffee's soluble compounds. The fix is almost always to grind finer. If your shot time is already in range but it still tastes sharp, try increasing dose by 0.5-1 g, or check that your brew temperature is at least 90°C.
Should I tamp hard or light?
Somewhere in the 15-20 kg range is plenty, but the pressure matters less than tamping level. An uneven tamp is far more damaging to shot quality than whether you pressed at 15 kg or 20 kg. Focus on keeping your wrist straight and the tamp parallel to the basket surface.
What does a balanced espresso actually taste like?
It depends on the coffee, but in general: a balanced shot has some sweetness (caramel, brown sugar, fruit), mild bitterness that rounds out the finish without dominating, and enough body to feel substantial without being syrupy or dry. If you're tasting mostly bitterness or mostly sourness, one of those is louder than the others. The goal is a shot where no single element is yelling at you.
How much does the machine matter compared to technique?
Less than most people assume once you're past a genuinely broken or underpowered machine. A machine that holds temperature within a couple of degrees and produces roughly 9 bars of pressure at the group head can pull an excellent shot in the hands of someone who doses accurately, distributes evenly, and adjusts grind patiently. Chasing a more expensive machine before you've nailed puck prep on your current one usually just moves the same inconsistency to newer, pricier equipment.
Why does the same recipe stop working after a week or two?
Coffee changes as it ages off the roast date. Beans that were dialed in at day 6 will often pull slower by day 18 as they lose CO2 and become denser to the water flow, which usually means you need to grind slightly coarser over time to hold the same shot time. If your shot has drifted slower without any change on your end, check the roast date before you start second-guessing your technique.