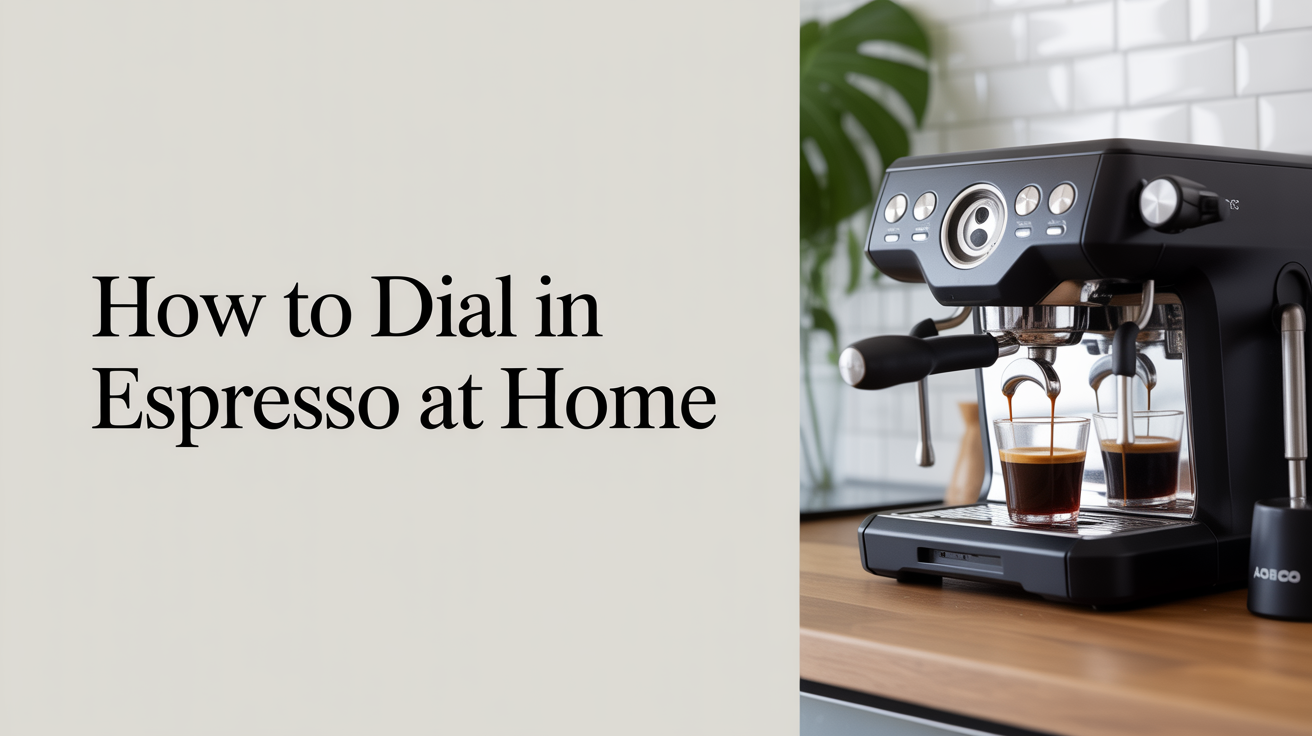
Espresso
How to Dial In Espresso at Home
Learn how to dial in espresso using dose, grind size, and extraction time. A practical guide with ratios, troubleshooting tips, and an FAQ.
Dialing in espresso means adjusting your grind, dose, and yield until the shot tastes right. It sounds complicated, but the process is repeatable: change one variable at a time, taste, adjust. Most people get a drinkable shot within 3–5 pulls of a new bag.
The fastest path is to start with a known recipe, run a shot, and let the taste tell you what to fix next. Here's how to do that systematically.
What "Dialed In" Actually Means
A dialed-in shot isn't a mystical thing. It means the coffee is extracted at the right rate, producing a balance of sweetness, acidity, and body for that specific bean and roast level.
The three variables you control are:
- Dose (grams of ground coffee in the basket)
- Yield (grams of liquid espresso out)
- Time (how long the shot runs, in seconds)
These interact. A finer grind slows the water down, extending extraction time. A coarser grind speeds it up. Dose affects how much resistance the puck offers. Yield tells you the ratio of coffee to water.
Every adjustment you make touches all three, so the goal is to nail down two of them first and use the third as a diagnostic.
Start With a Recipe, Not a Guess
Before pulling your first shot with a new coffee, set a target recipe. This gives you something to compare against, rather than shooting in the dark.
A good starting recipe for most home espresso machines:
| Variable | Starting value |
|---|---|
| Dose | 18 g |
| Yield | 36 g (1:2 ratio) |
| Time | 25–30 seconds |
| Temperature | 200°F (93°C) |
This 1:2 ratio (in:out) works well across a wide range of single origins and blends. Some lighter roasts want a longer ratio like 1:2.5 or even 1:3. Darker roasts often taste better shorter, closer to 1:1.5.
Once you've set your recipe, lock in your dose first. Weigh every shot. Eyeballing costs you a variable you could have controlled for free.
Why the 1:2 ratio is a useful anchor
It's not a law, it's a starting point. The ratio tells you the relative strength of the shot. A 1:1 ristretto is dense and syrupy. A 1:3 lungo is lighter and often brighter. Starting at 1:2 gives you room to go either direction once you taste what the coffee is doing.
How to Adjust Grind Size
Grind size is your main lever for controlling extraction time. If your shot runs fast and tastes sour or hollow, grind finer. If it runs slow and tastes harsh or dry, grind coarser.
Most grinders use a number scale, but the numbers are meaningless across brands. What matters is the direction: finer = slower, coarser = faster.
The sour-bitter dial
- Shot runs in under 20 seconds, tastes sour or thin: grind finer by 1–2 clicks
- Shot runs in 30–40 seconds, tastes harsh, dry, or ashy: grind coarser by 1–2 clicks
- Shot runs in 25–30 seconds, tastes balanced: you're there, or close
One click at a time. Large adjustments make it hard to track what caused what.
When to stop adjusting grind
Stop when you hit the 25–30 second window AND the taste is where you want it. Time alone doesn't mean a good shot. A 27-second shot of badly roasted coffee is still bad coffee. But time outside the 20–35 second window is usually a sign something is off.
If you're hitting the right time and the shot still tastes off, see the espresso troubleshooting guide for channeling, puck prep, and other causes that grind size can't fix.
Managing Dose and Yield
Once grind is close, dose and yield become your fine-tuning tools.
Dose (how much coffee goes in) affects shot strength and how much resistance the puck offers. A heavier dose slows the shot down slightly. A lighter dose speeds it up. For a standard double basket, 17–19 g is typical. Some high-capacity baskets take 20–22 g.
Don't pack your basket beyond its rated dose. Overfilling creates uneven extraction and pressurized baskets can mask grind problems entirely.
Yield (how much comes out) controls body and concentration. If your shot tastes right but is too strong or too thin, adjust yield before touching the grind.
- Too strong, bitter finish: let it run a gram or two longer (increase yield)
- Too thin, weak, bright: cut the shot sooner (reduce yield)
Keep a notepad or phone next to the machine. Write down dose, yield, and time for every shot you pull while dialing in. You'll want to know what you changed and when.
Reading the Taste
Numbers are tools. Your palate is the judge. Here's a rough map of what different problems taste like:
| Taste | Likely cause | Fix |
|---|---|---|
| Sour, thin, hollow | Under-extracted | Grind finer, or increase dose |
| Harsh, dry, ashy | Over-extracted | Grind coarser, or reduce yield |
| Weak, watery | Too little coffee | Increase dose or reduce yield |
| Bitter but not harsh | Slightly long | Reduce yield by 2–4 g |
| Uneven (sour AND bitter) | Channeling | Check puck prep, distribution |
The sour-bitter divide is the most useful split to understand. Sour means the water moved through too fast and didn't pull enough from the grounds. Bitter (the dry, coating kind) means the water sat too long and started pulling harsh compounds. They feel different in your mouth once you know what to look for.
Acidity and sourness are different things. A bright, clean lemon note in a light-roast shot is acidity, and it's a good thing. A sharp, unpleasant twang at the tip of your tongue is sourness from under-extraction. Comes with practice to tell them apart.
Tools That Make Dialing In Easier
You don't need much, but a few things remove guesswork.
A scale is non-negotiable. Dose by weight, not by volume. Coffee density varies between roasts and even between bags, so a volumetric scoop is unreliable. A cheap kitchen scale that reads to 0.1 g is enough. Scales that sit under the drip tray and measure yield in real time (like the Acaia Lunar or the Timemore Black Mirror) are convenient but not required.
A shot timer matters if your machine doesn't have one built in. Your phone's stopwatch works fine. Start it when you press the brew button, stop when you cut the shot. You want to know time to the second, not a rough estimate.
Puck prep tools are optional but helpful once you're consistent on the other variables. A distribution tool or a WDT (Weiss Distribution Technique) needle helps break up clumps in the ground coffee before tamping. Clumps cause uneven extraction, which is one of the reasons a shot can taste sour in parts and bitter in others at the same time. A simple spiral through the loose grounds with a toothpick costs nothing and makes a real difference.
Pulling a Consistent Shot
Once you're dialed in, consistency matters more than continued tweaking. A few habits that help:
- Weigh your dose every time. ±0.5 g swings are enough to shift extraction noticeably.
- Distribute grounds before tamping. A balanced espresso shot starts with an even puck. WDT tools, a distribution tool, or even a toothpick spiral works.
- Tamp level and firm, not hard. 30 lbs of pressure is plenty. The angle matters more than the force.
- Note your machine's warm-up time. First shot of the day on a cold group head often runs faster. Many baristas pull a blank (water-only) shot to heat the group first.
- Flush between shots. Residual coffee in the group head burns onto the next puck.
When you change bean bags, even within the same roast, expect to re-dial. Density varies between harvests. A grind that was perfect last month may need a click finer with this month's batch.
Dialing In for Different Roast Levels
Light, medium, and dark roasts respond differently to the same recipe.
Light roasts are denser and harder to extract. They often need finer grinds, higher temperatures (200–205°F), and longer ratios (1:2.5 to 1:3) to develop sweetness. A 1:2 light-roast shot that runs perfectly in time can still taste underdeveloped.
Medium roasts are the most forgiving. The 1:2 ratio at 198–200°F tends to work without much fighting.
Dark roasts extract quickly and go bitter fast. Coarser grinds, lower temperatures (195–198°F), and shorter ratios (1:1.5 to 1:2) keep them from tasting burnt or hollow. Pull them fast.
If you're new to espresso and want to practice dialing in without fighting the coffee, start with a medium roast blend specifically sold for espresso. You can learn the process without the added challenge of a finicky light roast. Once the method is solid, branch out. For people who don't have a machine at all yet, the guide to making espresso without a machine covers some lower-pressure alternatives worth reading first.
Frequently Asked Questions
How many shots does it take to dial in a new coffee?
Realistically, 3–6 shots for most people with some experience. The first shot gives you data. The second and third zero in on grind. By the fourth you're usually tasting a drinkable result. Don't throw out those early pulls, though. Under-extracted shots still work in drinks with milk.
Should I dial in with my actual target drink, or pull straight shots?
Straight shots. Milk, foam, and sweetener mask extraction problems. If you dial in with a latte you'll end up with a shot that only tastes good when hidden by other things.
Does water temperature matter for dialing in?
Yes, but it's a secondary variable. Get grind and ratio sorted first. Temperature is worth adjusting once you're getting consistent pulls and want to coax more or less brightness from the coffee. For most home machines, staying in the 196–202°F range covers most scenarios.
My shot time is right but it still tastes bad. What's wrong?
Time is necessary but not sufficient. Check for channeling (water finding a shortcut through the puck), stale beans, or a basket that's rated for more coffee than you're using. Old coffee that's been open more than 3–4 weeks often just can't produce a good shot regardless of what you do with the grind.
How do I know when I'm done dialing in?
When you pull the same shot twice in a row and they taste the same. Reproducibility is the goal. One good shot could be luck. Two identical good shots means the recipe is locked.