Espresso
How to Tamp Espresso the Right Way
Learn how to tamp espresso correctly: the right pressure, a level puck, and the distribution steps that prevent channeling and uneven shots.
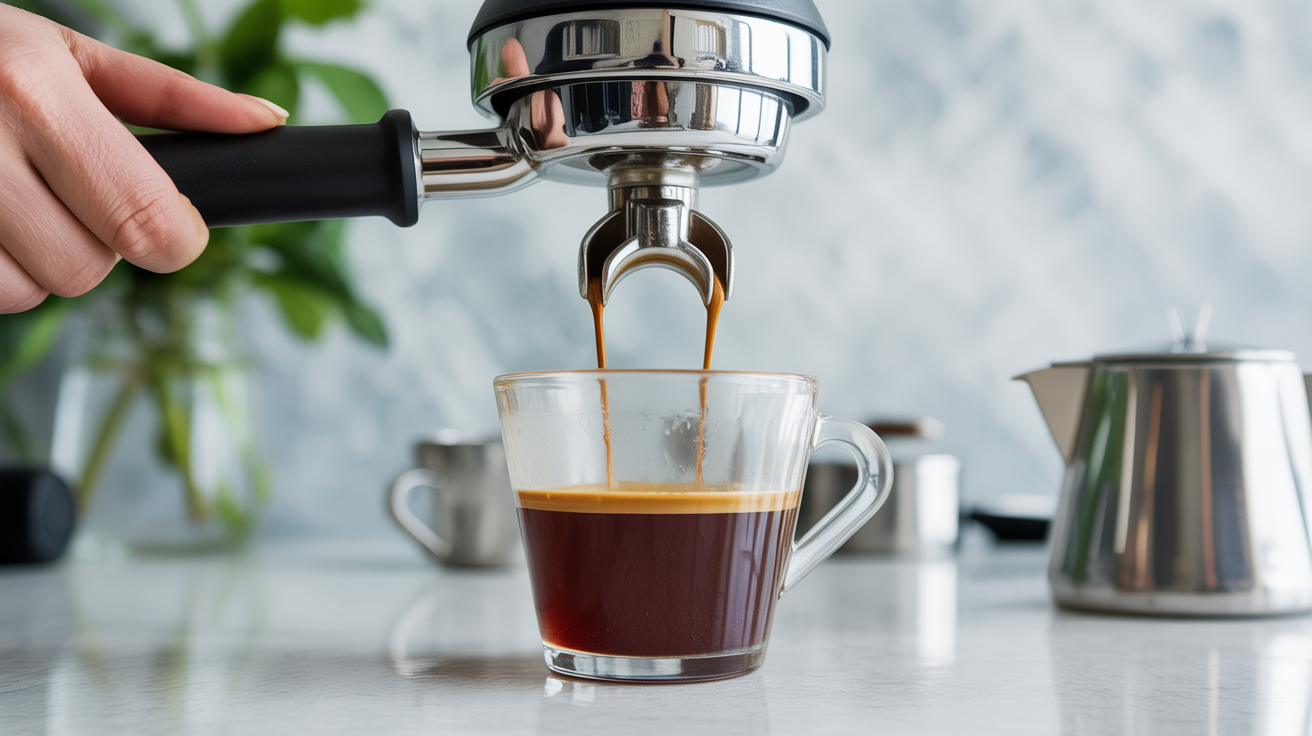
Tamping looks simple. You press a metal disc into a basket of ground coffee, and then you brew. But bad tamping is one of the most common reasons shots run fast, taste thin, or channel to one side. Getting it right is less about raw strength than it is about consistency and a level surface.
This guide covers the full tamping sequence: why it matters, what equipment you actually need, the step-by-step technique, and the mistakes that quietly ruin otherwise decent shots.
Why Tamping Matters
Espresso uses pressure (typically 9 bars, or about 130 psi) to push hot water through a compacted bed of coffee at 190-200°F (88-93°C). If that bed has gaps, soft spots, or a tilted surface, the water takes the path of least resistance rather than flowing evenly through the whole puck. That shortcut is called channeling.
Channeling gives you over-extracted coffee where the water punched through and under-extracted coffee everywhere else. The shot can taste both bitter and sour at once. A solid, level tamp is one layer of defense against that.
The other reason to tamp consistently is repeatability. Once you find settings that produce a shot you like, you want every subsequent pull to be as close to identical as possible. Wildly varying tamp pressure introduces a variable that's hard to isolate when something goes wrong.
Choosing the Right Tamper
Before technique, equipment. A tamper that doesn't fit your basket undermines everything else.
Tamper Diameter
Most home espresso machines use a 58 mm portafilter basket. A 58 mm tamper should fill the basket with only a thin ring of gap. If your tamper is 53 mm or smaller in a 58 mm basket, the coffee around the edges won't compress, and water will flow through those loose grounds preferentially.
Measure your basket if you're not sure. A tamper that drops too far inside the basket lip is undersized.
Weight and Handle Shape
Heavier tampers (around 300 to 500 g) let gravity do more of the work, which helps beginners apply consistent pressure without gripping hard. Handle shape is personal preference, but a flat-bottomed handle gives more feedback on whether you're leaning.
Calibrated tampers that click at a set pressure exist, typically set to 30 lbs (13.6 kg) of force. They're useful for learning but not required once you've developed a feel for consistent technique.
How to Tamp Espresso Correctly
The tamp itself takes about five seconds, but the steps before it matter just as much.
Step 1: Dose and Distribute First
After grinding into the portafilter basket, the grounds need to be evened out before you compress them. Grounds come out of a grinder in a clump. If you tamp a clump, you get an uneven puck.
A few ways to distribute:
- WDT (Weiss Distribution Technique): Use a thin needle or a purpose-made WDT tool to stir the grounds in a circular pattern before tamping. This breaks up clumps and creates a level bed. Works well with 18 to 21 g doses.
- Leveling tool / palm tamper: A flat disc or spring-loaded leveler that you push down into the basket to settle grounds evenly.
- Tapping and raking: Tapping the portafilter on a mat and then raking the surface with a finger. Less precise than WDT but usable.
Skipping this step and relying on the tamp alone to distribute the coffee is one of the most persistent habits that leads to channeling.
Step 2: Place the Portafilter Flat
Rest the portafilter on a stable surface. Many people use the edge of a counter or a tamping mat with a raised lip. The basket should sit level so the tamp goes in straight.
Holding the portafilter in the air while tamping is an easy way to accidentally tilt the puck.
Step 3: Position Your Wrist and Elbow
Grip the tamper so your wrist is straight and your elbow is roughly at a right angle. This lets you press straight down rather than at an angle. Look down at the tamper from above to check that it's sitting level in the basket before you apply pressure.
Step 4: Apply Pressure
Press straight down until you feel firm resistance. A good starting target is about 30 lbs (13.6 kg) of downward force. If you've never calibrated this, bathroom scales give you a reference: press the tamper onto the scale until the reading hits 30 lbs, and remember how that feels in your arm.
Hold the pressure for one to two seconds. Then release.
Step 5: Check the Puck Surface
The compressed puck should look flat and smooth, not angled or dome-shaped. Run a fingertip gently around the edge to see if the surface is consistent at the rim. An obvious slope means the tamp wasn't level.
Some people do a light "polish" by rotating the tamper a quarter-turn at the end to smooth the surface. Research on this is mixed (it doesn't demonstrably change extraction), but it doesn't hurt.
Understanding Tamping Pressure
The "30 pounds of pressure" figure gets repeated a lot, and it's a reasonable starting point. But the more critical variable is consistency. If you tamp at 20 lbs every time, your shots can still be dialed in reliably. Jumping from 15 lbs to 40 lbs between pulls makes dialing in much harder.
High-end espresso setups sometimes remove tamping variability entirely with auto-tampers or puck screens, but for home setups, developing a consistent hand technique is practical and sufficient.
Pressure that's too light (under 10 lbs or so) leaves the puck loose enough for water to pass through without proper resistance. You'll often see very fast shot times, like a 36 ml double shot finishing in under 20 seconds. Pressure that's too heavy doesn't cause many problems on its own, but it can be harder to sustain consistently and may slow shots if combined with a very fine grind.
If your shots are running too fast or too slow, adjust the grind first before changing tamp pressure. Grind size has a much larger effect on flow rate. Dialing in espresso at home covers that process step by step.
Common Tamping Mistakes
Tamping Before Distributing
Pressing down on uneven, clumped grounds locks the unevenness in place. The water later finds the soft channels. Spend 15 extra seconds distributing before the tamp.
A Tilted Tamp
This creates a thick side and a thin side in the puck. Water extracts the thin side fast and under-extracts the thick side. The tell is a shot that spurts sideways from the spout or finishes unevenly. If your shots show signs of channeling, check whether your tamp is level by looking at the puck surface after you remove the spent grounds.
Wrong Tamper Size
An undersized tamper in a large basket leaves a ring of loose grounds around the edge. The water blasts through the edges and barely touches the center. This is usually obvious once you pull the portafilter after a shot: the used puck will look intact in the middle but disturbed around the rim.
Gripping Too Hard
A tight grip tends to twist the wrist slightly as you press, introducing tilt. Grip firmly enough to control the tamper, then let the weight and straight-down motion do the work.
For a deeper look at what happens when shots go wrong, espresso troubleshooting: why your shot runs off connects tamping errors to specific shot problems.
Frequently Asked Questions
How much pressure should I use when tamping espresso?
Around 30 lbs (13.6 kg) is the commonly cited target, and it's a good starting point. That said, the exact number matters less than hitting the same pressure each time. Calibrate using a kitchen scale: press your tamper onto the scale and feel what 30 lbs is like in your arm, then try to replicate it during normal workflow.
Does a tilted tamp always cause channeling?
A slight tilt often does. The thinner section of the puck offers less resistance, so water finds a path through it. The effect is proportional to how far off-level the tamp is. A 1 or 2 degree lean may not cause obvious issues; a 10 to 15 degree lean almost certainly will.
Should I polish the puck after tamping?
A light twist at the end to smooth the surface is optional. Some home baristas swear by it; others skip it entirely without any measurable difference in their shots. If your flat-base tamp leaves a clean, level surface, the polish step adds very little.
My shots are running too fast. Is it my tamp?
Fast shots are usually a grind problem, not a tamping problem. A coarser grind creates less resistance and lets water pass through faster. Try grinding finer before adjusting how hard you tamp. Tamping slightly harder can marginally slow a shot, but fine-tuning the grind is more reliable and has a larger effect.
Can I make espresso without a dedicated espresso tamper?
For machines with pressurized portafilters (most entry-level machines), the basket has a built-in pressure valve that compensates for imperfect tamping. A flat-bottomed spoon or the plastic tamper that comes with the machine can work. For non-pressurized baskets, a properly sized tamper makes a real difference in consistency.