Espresso
Espresso Grind Size: A Practical Guide
Learn how espresso grind size affects extraction, how to read a shot, and how to adjust your grind for a balanced, consistent cup at home.
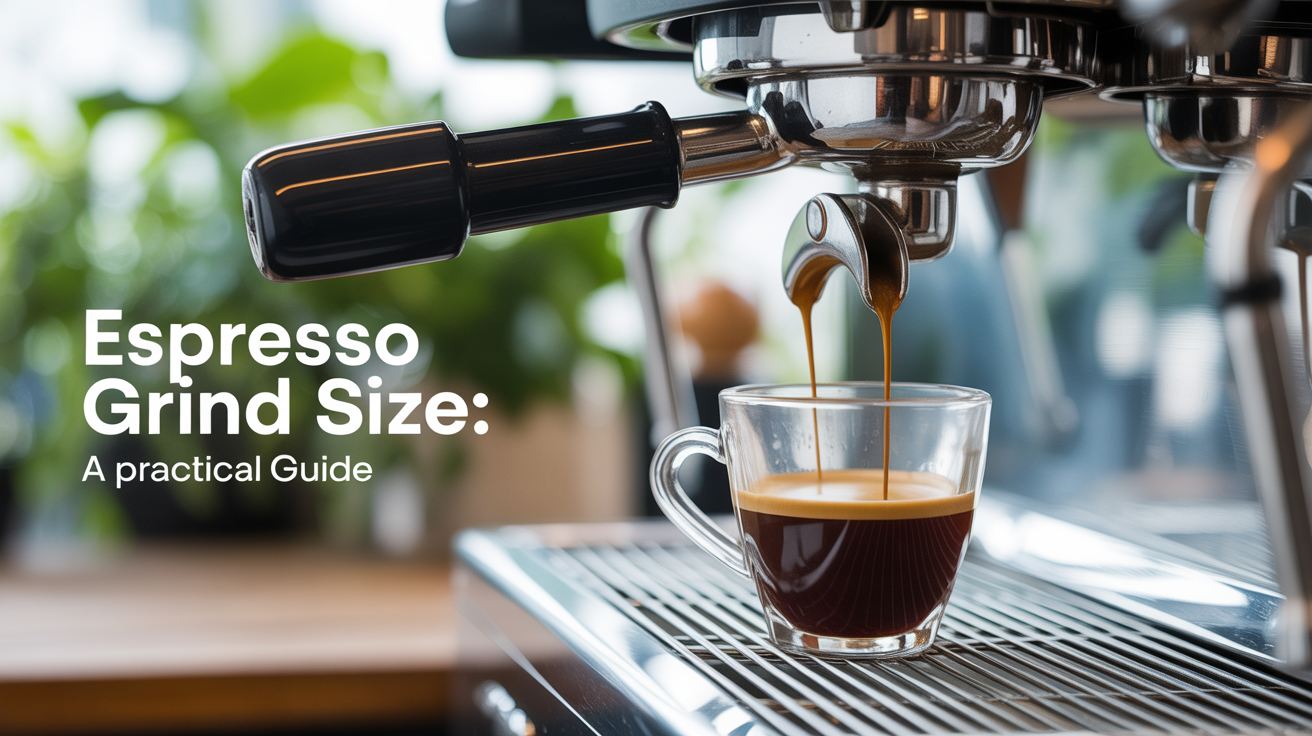
The right espresso grind size sits in a narrow range. Too coarse and your shot pours in 15 seconds, thin and sour. Too fine and the machine struggles to push water through at all. The grind is the variable you'll adjust most often, so understanding what it does and how to read the signs when it's wrong saves a lot of wasted coffee.
Why Grind Size Controls Everything About Your Shot
Espresso is brewed under pressure, typically 9 bars, pushing hot water (between 195°F and 205°F / 90°C and 96°C) through a compact puck of ground coffee. The grind size determines how much resistance that puck offers.
Fine grind particles pack closely together. Water has to work harder to pass through, which extends contact time and extracts more soluble compounds from the coffee. Go too fine and the puck becomes nearly impassable. The pump pressure can't push water through at all, or the shot barely drips. Go too coarse and water flows through fast with minimal resistance, extracting only the quick-dissolving compounds, which skews sour and thin.
The standard espresso extraction window most home brewers aim for is 25 to 30 seconds from the moment the pump starts until you hit your target yield. A common ratio is 1:2 by weight (18 g of ground coffee producing 36 ml of liquid espresso), though single shots often run closer to 7 g in and 14 ml out, and some modern recipes push toward 1:2.5 or 1:3 for lighter roasts.
Pressure, Not Just Time, Tells the Story
The shot timer is a guide, not a guarantee. Two grinders set to the same dial number can produce meaningfully different particle sizes, so always watch your actual shot behavior rather than chasing a time target in isolation. The flavor in the cup is the final arbiter.
What "Fine" Actually Means for Espresso Grind
Most burr grinders use a numbered or stepped dial. For espresso, grinders typically sit near the fine end of their range, closer to numbers like 1 or 2 on a 1-to-10 scale. But those numbers mean nothing across brands. A setting of "3" on one machine might produce the same particle size as "7" on another.
The practical definition of the right grind size for espresso: your puck should be firm enough that 9 bars of pressure takes around 25 to 30 seconds to push 36 ml of water through 18 g of coffee, and the resulting liquid should taste balanced, neither sourly thin nor harshly bitter.
A Starting Point for Dialing In
If you're starting fresh with a new bag of coffee or a new grinder, begin slightly coarser than you think you need. Let the shot run and observe:
- Yield (ml in the cup) measured by weight in grams on a scale under the portafilter basket
- Time from pump start to stopping the shot
- Flavor once it cools slightly
A shot that runs in 18 seconds at a 1:2 ratio is almost certainly too coarse. One that sputters and barely moves after 40 seconds is too fine. Start there and adjust one variable at a time.
Reading the Signs: How to Tell Your Grind Is Off
Watching a shot and tasting the result gives you clear information, but only if you know what to look for.
The Shot Runs Too Fast
A fast shot, say 15 to 20 seconds to reach 36 ml with 18 g of coffee, usually means the grind is too coarse. Water passes through with little resistance and extracts only the easily soluble compounds. The espresso tastes sour, bright in an unpleasant way, and watery. The crema, if it forms at all, dissipates within a minute.
The Shot Runs Too Slow (or Barely Moves)
A shot taking 40 seconds or longer, or one that only drips with no real flow, means the grind is too fine or the puck has channeled. Channeling happens when water finds a crack or weak spot in the puck and rushes through that single path rather than spreading evenly. The resulting espresso tastes harsh, bitter, and dry. In severe cases it has an almost burnt, woody edge.
The Puck Looks Fine but the Taste Is Still Off
Sometimes timing lands in the 25 to 30 second range but the shot still tastes hollow or harsh. Distribution matters here too. Uneven tamping or poor distribution of grounds before tamping can cause channeling even with a correct grind setting. Fix the puck preparation before moving the grind.
Adjusting Espresso Grind Step by Step
Changing the grind setting and immediately pulling multiple shots is the fastest way to waste coffee without learning anything. One adjustment at a time is the only reliable method.
The One-Variable Rule
Change only the grind between shots. Same dose by weight, same tamp pressure, same brew ratio target. Pull the shot, note the time and taste, then decide on the next move. Changing the dose and the grind at the same time means you can't tell which change produced the result.
How Far to Move the Dial
For most conical burr grinders in the home range, one full click or notch shifts extraction time by roughly 2 to 5 seconds. Flat burr grinders tend to be more sensitive. When you're far from target, moving 3 to 5 clicks at once makes sense. As you get closer, single-click adjustments prevent overshooting.
When you switch to a new bag of coffee, especially one with a different roast level, expect to readjust. Darker roasts are more porous and extract faster at the same grind setting. You'll often need to grind finer to maintain the same extraction time. Lighter roasts are denser and may require a coarser setting, or longer extraction times, to taste balanced. A full walkthrough of the adjustment process, including dose and yield, is in our guide to dialing in espresso at home.
Grind Consistency Matters as Much as Grind Setting
Two grinders can be set to produce the same median particle size and still deliver very different espresso. The reason is particle distribution. A grinder with many "fines" (very small particles scattered among the larger ones) extracts unevenly: the fines over-extract while the coarser particles under-extract, producing a muddy, harsh cup even if overall timing looks right.
Burr quality plays a large role here. Flat burrs and high-quality conical burrs generally produce a more uniform particle size than blade grinders. Blade grinders chop rather than grind, producing wildly inconsistent particles that make dialing in espresso grind essentially impossible. You need burrs.
Grinder RPM also matters. Slower grinders produce less heat and tend to preserve particle consistency better. High-speed grinders can soften aromatics through heat and tend to generate more fines along the way.
Retention and Freshness
Many grinders hold onto a small amount of ground coffee from the previous session inside the grinding chamber. This retention means the first few grams you grind may be stale from the last session. Purging, running the grinder briefly before dosing your actual shot, is standard practice for espresso, particularly with single-dose workflows.
If your shots taste worse at the start of a session than mid-session, retention and staleness are worth investigating before blaming the grind setting itself.
Frequently Asked Questions
What grind size should I start at for espresso?
There's no universal starting number because grinder scales vary by brand and model. The practical answer: start slightly coarser than you think is correct, pull a shot, and see where you land on time and yield. A 1:2 ratio (18 g in, 36 ml out) in 25 to 30 seconds is a common target. If your first shot runs in 18 seconds, go finer by 3 to 5 steps. If it barely moves, go coarser.
Why does my espresso taste sour even though the shot time looks right?
Sour shots usually signal under-extraction. If your timing is in range but the flavor is sour, try grinding finer by one or two clicks. Also check your brew temperature. Machines pulling water below 195°F (90°C) can under-extract even with a correct grind setting. Some machines have a temperature adjustment; others benefit from a longer warm-up time, closer to 20 minutes rather than 5.
How often should I adjust my espresso grind?
Every new bag of coffee is a reason to recheck. Roast date also matters: coffee off-gases CO2 for the first 7 to 14 days after roasting and becomes progressively easier to extract as it rests. A bag you've been using for three weeks may need a slightly finer grind than the same bag fresh from the roaster. Small seasonal humidity changes can also shift puck behavior slightly, so periodic minor adjustments are normal.
Can I use pre-ground coffee for espresso?
Pre-ground coffee is rarely suitable for espresso because the grind size for espresso is specific and varies by setup. Ground coffee also goes stale much faster than whole beans, losing aromatics within 15 to 30 minutes in open air. A burr grinder is close to essential for espresso that tastes the way it should.
What does channeling look like in the cup?
Channeling often shows as a pale, uneven stream early in the shot that darkens quickly, or as one side of the stream that runs faster than the other. The resulting espresso tastes harsh and thin at the same time. If you're experiencing this regularly, check your distribution and tamp technique before adjusting grind. Our espresso troubleshooting guide covers channeling and other common shot problems in detail.