Brewing Methods
AeroPress Coffee: Recipes and Technique
Learn how to use an AeroPress with the standard and inverted methods, plus three tested recipes with exact grams, ratios, and brew times.
The AeroPress brews a clean, concentrated cup in about two minutes. Grind 15–18 g of coffee, heat water to 200°F (93°C), press through the filter, and you're done, following AeroPress's own brewing steps. What makes it interesting is how many ways you can manipulate those steps to change the flavor.
This guide covers the standard method, the inverted method, and three recipes worth keeping. All measurements are by weight, not volume, because volume is unreliable with ground coffee.
At a Glance
- Standard recipe: 15 g coffee, 225 g water at 200°F (93°C), medium-fine grind, total brew time under two minutes.
- The inverted method delays drip-through until you flip the chamber, giving you full control over steep time, closer to a French press with a paper-filter finish.
- Three recipes below cover an everyday cup, a concentrate for iced or milk drinks, and a slower pull built for light roasts.
- Grind size is the main lever: go coarser for a faster, lighter cup, finer for more body, but too fine makes the plunger a fight.
- Paper filters give a cleaner, brighter cup; metal filters give more body and less perceived bitterness, especially with darker roasts.
- Fresh beans matter more here than the method does. Coffee ground more than a day or two ahead loses the CO2 that gives you a lively bloom and consistent press.
What you need
- AeroPress (includes plunger, chamber, filter cap, filters, stirrer, and scoop)
- Burr grinder
- Kitchen scale
- Kettle
- Timer
- Mug or server
No special kettle required. A gooseneck is nice but not necessary here the way it matters for pour over, where pour control shapes extraction directly.
The standard AeroPress method
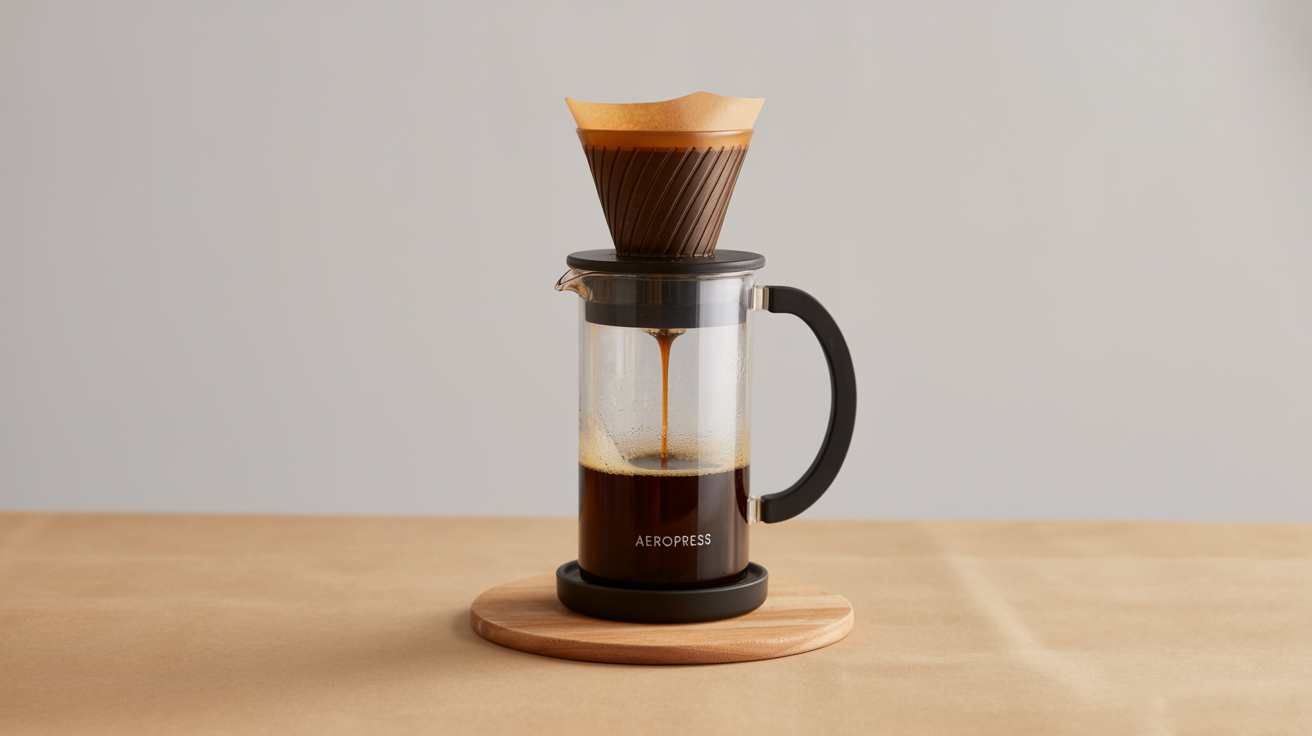
The standard method is what the instructions show: chamber sits upright on your mug, you pour water in, stir, wait, press.
Step-by-step
- Boil water and let it rest 30 seconds. Target: 200°F (93°C). If you don't have a thermometer, that's roughly off-boil after a short wait.
- Rinse the paper filter in the cap with hot water, then attach the cap to the chamber.
- Set the chamber on your mug and add 15 g of medium-fine ground coffee (a little coarser than espresso, finer than drip).
- Start your timer. Pour 225 g of water (1:15 ratio) in a steady circle until you hit 225 g. Takes about 15 seconds.
- Stir 10 times with the included stirrer or a spoon.
- At 1:00, place the plunger on top and press slowly over 30 seconds.
- Stop pressing when you hear the first hiss of air.
Total brew time: roughly 1:30–2:00. Adjust grind size if you want it faster (coarser) or slower (finer).
What can go wrong
Press too hard and you'll get bitter, over-extracted coffee. Press too gently and you drag the time out past 2:30, which also extracts more. Aim for consistent, moderate pressure. If you're fighting the press, your grind is too fine. A stuck plunger that won't budge at all, even with real effort, usually means the grind is closer to espresso fine than medium-fine; back off one full setting and try again rather than forcing it.
The inverted AeroPress method
With the inverted method, you flip the brewer upside down so the plunger goes in first. This prevents any drip-through before you're ready, which gives you more control over steep time. Many competition brewers prefer it.
Step-by-step
- Flip the chamber upside down and insert the plunger so it sticks in about 1 cm from the bottom. The chamber is now sitting on the plunger like a cup.
- Add 17 g of coffee (medium grind) to the upturned chamber.
- Start timer. Pour 255 g of water at 200°F (93°C) directly in.
- Stir briefly, 5–8 strokes.
- Attach the rinsed filter and cap. Flip carefully at 1:30 onto your mug.
- Press from 1:45 to 2:15.
Because no water can drip out during the steep, you get full immersion similar to French press, which the National Coffee Association describes as roughly four minutes of full contact between grounds and water at a coarse grind. The inverted AeroPress compresses that same full-immersion idea into a shorter window with a much finer grind, and the paper filter removes most of the fines, so the cup is cleaner than a French press despite the similar steep mechanics.
The obvious risk with inverted brewing is the flip itself: a full chamber of hot water balanced upside down over your mug. Keep one hand flat against the cap and chamber as a unit when you flip, rather than gripping the chamber alone, and set the mug on a stable, level surface first. If that motion makes you nervous, there's no flavor penalty for sticking with the standard method.
Three AeroPress recipes to try
Recipe 1: Standard everyday cup
| Parameter | Value |
|---|---|
| Coffee | 15 g |
| Water | 225 g |
| Ratio | 1:15 |
| Grind | Medium-fine |
| Water temp | 200°F (93°C) |
| Steep time | 1:00 |
| Total time | ~1:45 |
Stir at 30 seconds. Press over 45 seconds starting at 1:00. Good baseline for most single-origin coffees.
Recipe 2: Strong concentrate (for iced or milk drinks)
| Parameter | Value |
|---|---|
| Coffee | 22 g |
| Water | 165 g |
| Ratio | 1:7.5 |
| Grind | Medium-fine |
| Water temp | 205°F (96°C) |
| Steep time | 1:30 |
| Total time | ~2:15 |
This uses the inverted method. Press over 30 seconds directly over a glass of ice (about 100 g). The hot concentrate chills instantly as it passes through. Higher temperature compensates for the tight ratio and keeps extraction from going muddy. Use a coffee with some sweetness in the profile (Brazilian naturals, Ethiopian Yirgacheffes) and the result is dense and syrupy, strong enough to cut with milk or an equal part of water without going thin.
Recipe 3: Light-roast extraction
| Parameter | Value |
|---|---|
| Coffee | 18 g |
| Water | 270 g |
| Ratio | 1:15 |
| Grind | Medium |
| Water temp | 210°F (99°C) |
| Steep time | 2:00 |
| Total time | ~2:45 |
Light roasts are denser than dark ones and extract more slowly. Most standard AeroPress recipes undershoot them. Grind slightly coarser than you would for a medium roast, use near-boiling water, and extend the steep. Press slowly, 45–60 seconds. The cup should be bright and clean, not sharp or thin. If it still comes out sour after this recipe, the beans may simply be underroasted for the method, or you need another gram or two of dose to push the extraction further.
For more on how water-to-coffee ratios affect flavor across different brew methods, see the right coffee-to-water ratio for any brew.
Grind size and its effects
The AeroPress is unusually forgiving of grind inconsistency. A cheap blade grinder will produce an uneven cup, but it'll still be drinkable. That said, if you're going to tune recipes, you need a consistent grind to isolate variables.
| Grind setting | Press feel | Resulting cup |
|---|---|---|
| Too coarse | Fast, almost no resistance | Watery, thin body, mild acidity |
| Slightly coarse | Fast, light resistance | Clean, light body, bright |
| Medium-fine | Smooth, even resistance | Balanced; where most standard recipes land |
| Fine | Slower press, real resistance | Fuller body, can tip into bitterness with a long steep |
| Too fine | Hard to press, sometimes stuck | Bitter, occasionally sour if extraction is uneven |
Start medium-fine and adjust one click at a time. The AeroPress is fast enough that testing a new grind setting takes three minutes total, so there's little cost to iterating your way to a setting you like.
Metal filter vs. paper filter
Most AeroPresses ship with paper filters. Metal mesh filters are a separate purchase and produce a noticeably different cup.
Paper filters catch fine particles and oils. The result is cleaner, with more defined acidity and a lighter body.
Metal filters let oils and micro-fines through. The cup has more body and a silkier texture, closer to what a French press produces without the sludge at the bottom, since the AeroPress's pressure still keeps most grounds compacted in the chamber rather than floating free in the cup.
Neither is better. It depends on what you want. Paper filters tend to suit light and medium roasts well, since they let the acidity and clarity that define those roasts come through cleanly. Metal filters make dark roasts taste richer and reduce perceived bitterness, because the extra body and oils round out the roast-forward flavors that dark beans lean on. If you brew both roast levels regularly, it's worth owning one of each; a metal filter costs about as much as a pack of 350 paper ones.
Frequently Asked Questions
How much coffee do I use in an AeroPress?
Between 15 and 20 grams for a standard cup, using a 1:12 to 1:15 ratio. The AeroPress chamber holds about 250 ml of water maximum before you're pushing it. At 1:15 with 17 g of coffee, you're using 255 g of water, which is right at the fill line.
What grind size is best for AeroPress?
Medium-fine for most recipes with paper filters. Think slightly coarser than espresso, finer than drip. If you're using a metal filter, go a touch coarser to slow down the press and add clarity to the cup. Light roasts generally benefit from going one step coarser than your instinct, paired with higher water temperature.
Is the inverted method actually better?
Not categorically. It removes drip-through, which matters if you want precise control over steep time. But the standard method works fine for most recipes, and flipping a chamber full of hot water over your mug has an obvious failure mode. If you try inverted and like it, use it. If it makes you nervous, the standard method isn't holding you back.
Why does my AeroPress coffee taste bitter?
Three common causes: water too hot (above 205°F for most coffees), grind too fine, or press time too long. Try dropping your water temperature by 5°F, coarsening your grind by one click, and limiting the steep to 90 seconds. If the bitterness disappears, adjust one variable back at a time to find where you want to land.
Can you make espresso with an AeroPress?
Not true espresso. Espresso uses 9 bars of pressure; the AeroPress generates about 0.35–0.75 bar, depending on how hard you press. What you can make is a concentrated, espresso-style shot (the Recipe 2 above) that works well in lattes or diluted with hot water as an Americano. The flavor profile is different from machine espresso, but it's genuinely good.
How many times can I reuse an AeroPress filter?
Paper filters are meant for one use; they clog with oils and fines after a single press and won't flow properly a second time. A metal mesh filter, by contrast, is designed to be reused indefinitely. Rinse it under hot water right after brewing and give it an occasional deeper scrub with a soft brush to clear trapped oils, which otherwise build up and turn rancid over time.
Does the AeroPress work with pre-ground coffee?
It works, but you'll lose the method's main advantage: consistency. Pre-ground coffee starts degassing and oxidizing the moment it's ground, so by the time it reaches your kitchen it may already be losing the CO2 that helps produce an even extraction. If pre-ground is all you have, use it fresh (within a week or two of the grind date) and expect to adjust the recipe more than you would with beans ground to order.